
My cake smash workflow
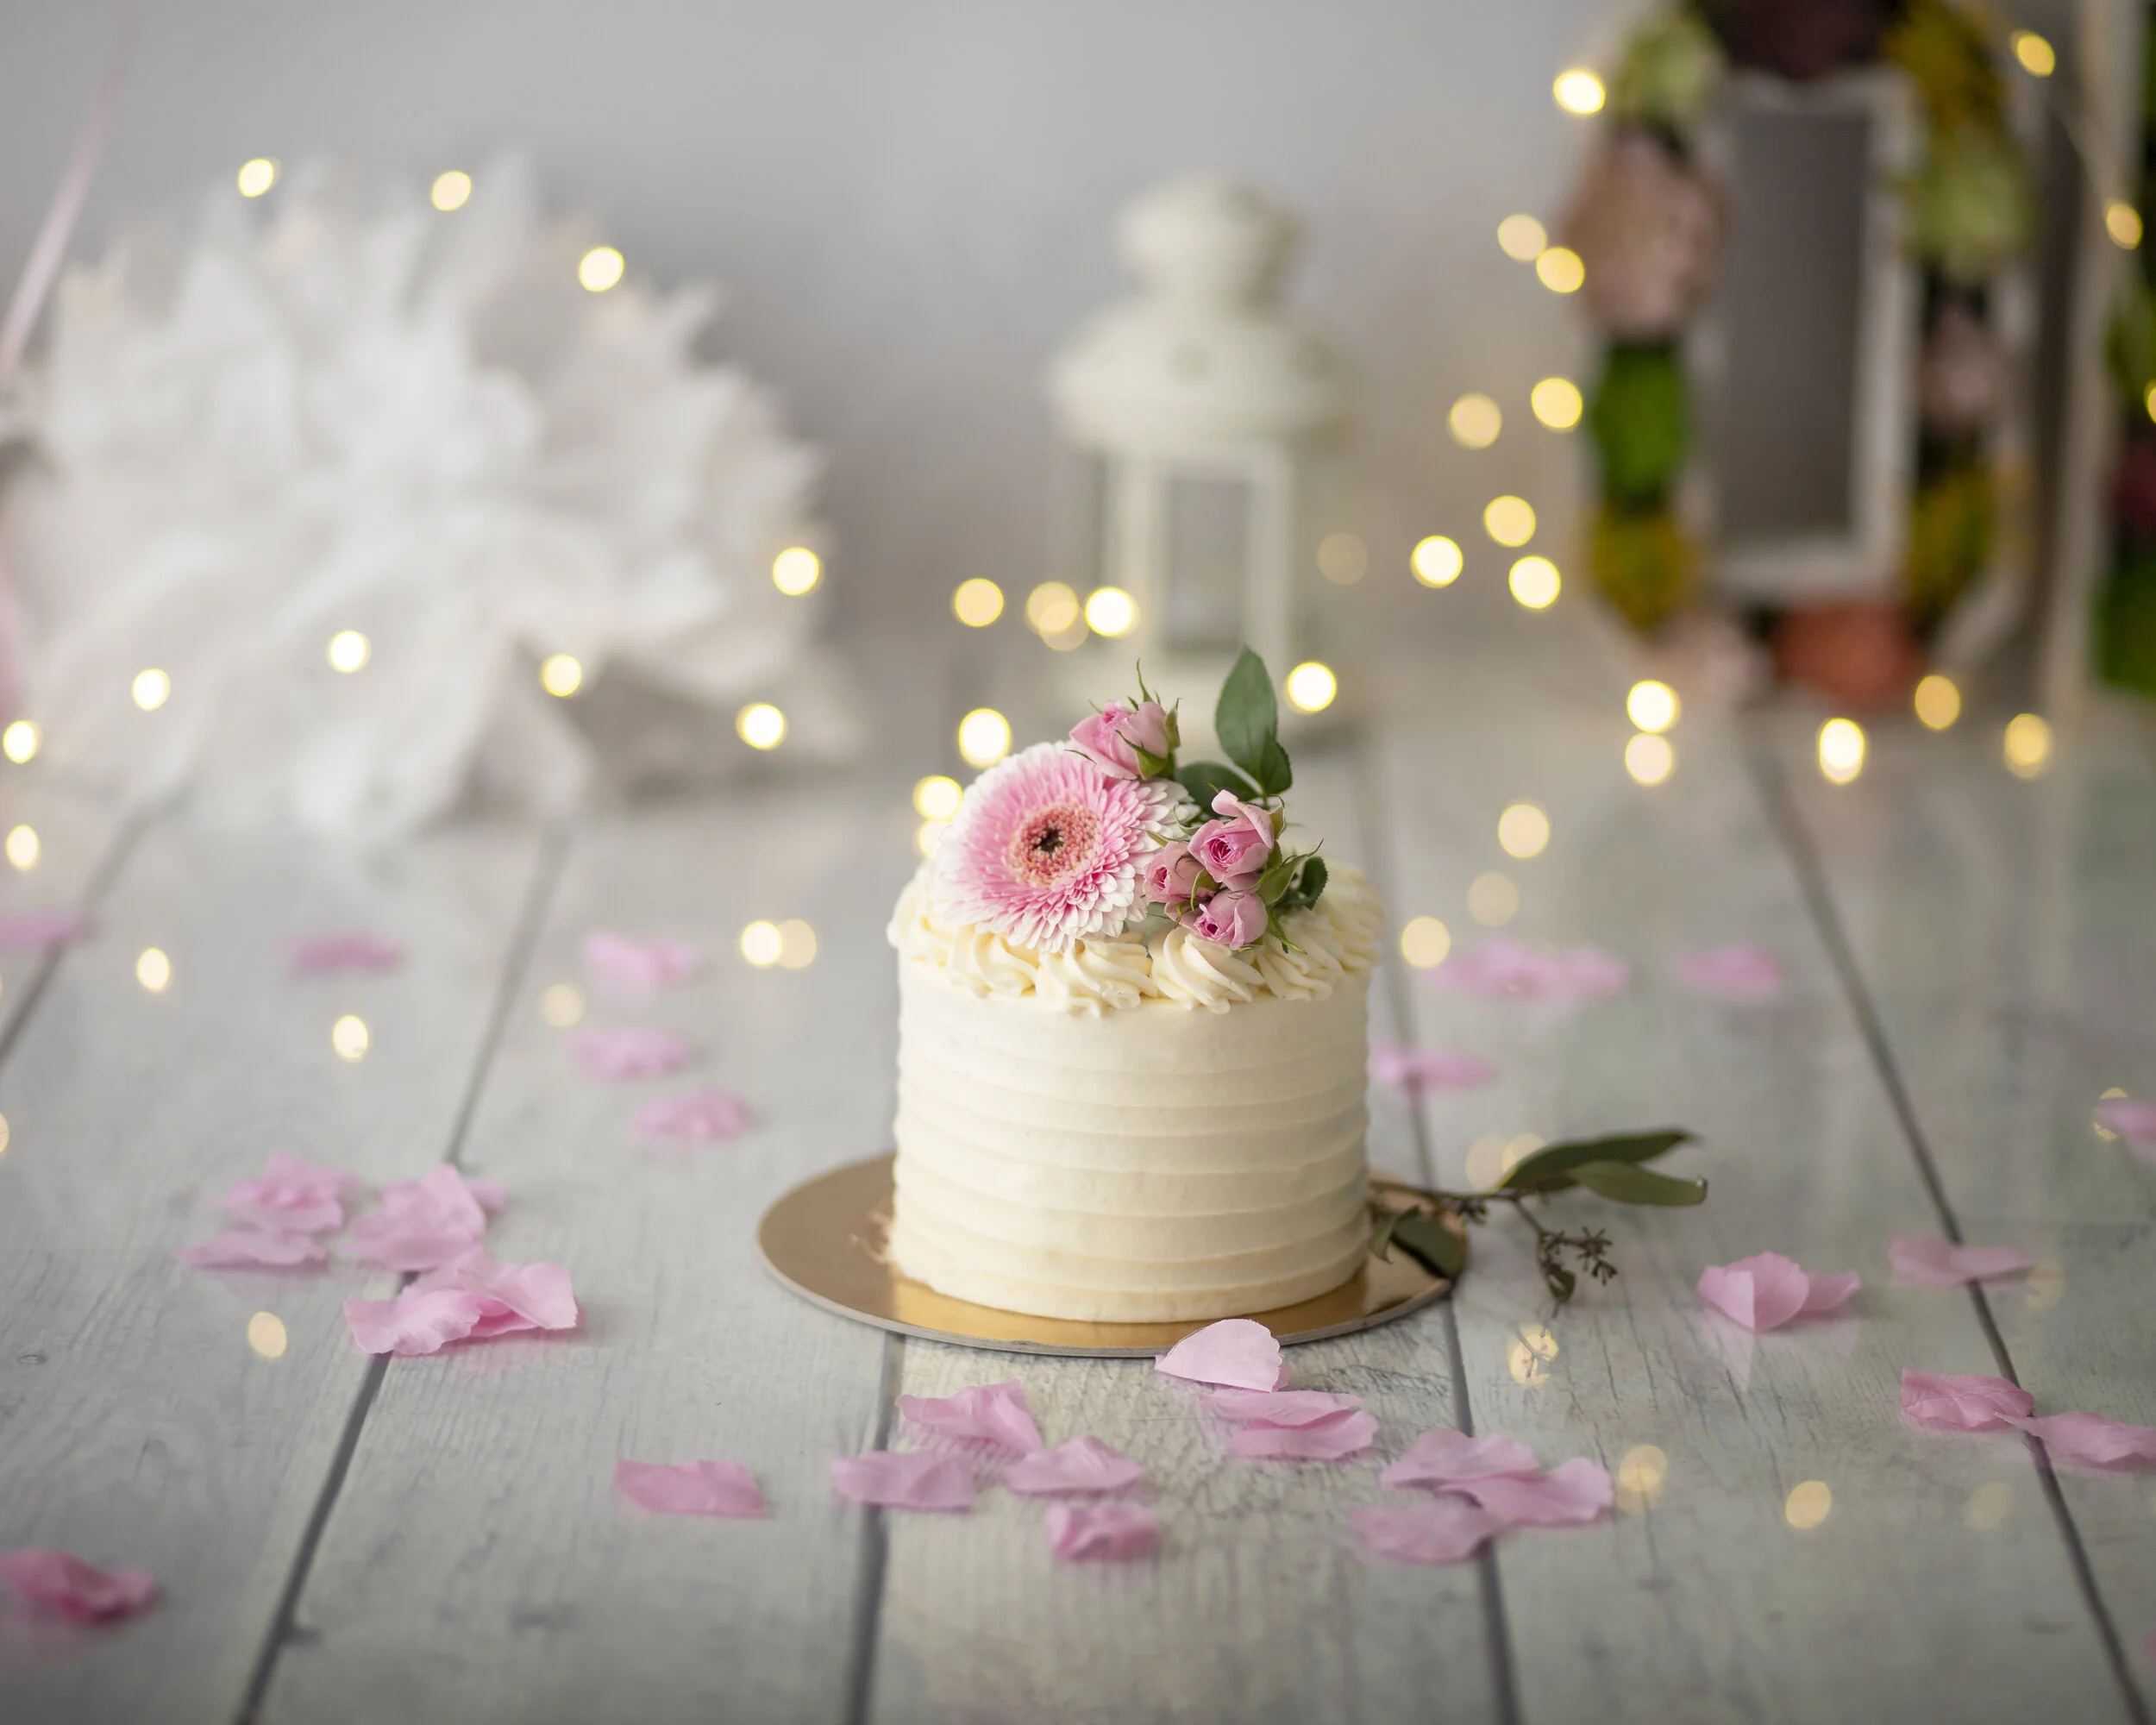
My Cake Smash Photography Workflow: From Booking to the Final Gallery
I didn't expect to photograph cake smashes when I first started my home studio, but they quickly became my most-booked type of session!
Cake smash sessions are fun, colourful, and document a child's first birthday in the most adorable and cake-covered way possible.
I've photographed a lot of cake smashes since opening my studio in 2020, and I've learned quite a few things along the way (sometimes the hard way!).
If you're a photographer thinking about offering cake smash photography, here's a look at my workflow from booking the session all the way through to the shoot.
Before the Cake Smash Session
Once someone books through my website, I send them a welcome email along with my cake smash information guide.
The guide includes all the information they need to prepare for their session, along with links to important pages on my website, including my backdrop selection.
Parents choose their backdrop ahead of time and let me know about any allergies their child may have. If there are food allergies or other concerns, I encourage parents to bring their own cake.
Otherwise, I purchase the cake from a local bakery.
And that brings me to one of the biggest things I've learned...
I Avoid Fancy Cakes
Why?
They're expensive, and many of the beautiful custom cakes I've encountered are surprisingly firm to the touch.
After spending all that money on a gorgeous cake, there's nothing more frustrating than putting it in front of a one-year-old only to discover that they can't—or don't want to—smash it!
I've found that simple 5-inch cakes from Safeway or another local grocery store or bakery work wonderfully.
They're soft, easy for little fingers to dig into and, most importantly, yummy!
The cake doesn't need to be the star of the session, your baby is!
We Start With a Sitter Session
When mom arrives with baby, she'll usually choose one or two outfits from my client wardrobe and get baby dressed.
I put on some children's music and spend a little time interacting with baby before we get started. This gives them a chance to look around, get used to me and become comfortable in the studio.
We start with baby sitting on the backdrop for some simple portraits.
Then I'll bring different props in and out to create some variety. Depending on the session, I might use a little bed, basket, chair, rocking horse or another prop that works with the setup.
If baby is shy, this stage can take a little longer.
I try not to spend too much time on the sitter portion because we still have the cake smash and possibly a bath to get through.
Sometimes I fail miserably at this and completely lose track of time!
Then It's Time for the Cake Smash!
Once I feel like I have enough variety from the sitter portion, it's time to bring out the cake.
Mom changes baby into their cake smash outfit, and I place the cake on the floor between baby's feet.
Then we see what happens!
Some babies immediately dig in.
Some carefully poke the icing with one finger.
Some stare at the cake suspiciously.
And some want absolutely nothing to do with it.
That's why I always keep a spoon nearby.
Most parents understandably want photographs of their baby actually smashing the cake with their hands, so I usually give baby plenty of opportunity to explore it on their own first.
But eventually, some babies get bored.
That's when the spoon comes out.
I've also photographed babies who absolutely hate the feeling of icing on their fingers. In that situation, I'll sometimes stick the spoon directly into the cake. Baby's natural instinct is often to reach over and pull it out—and suddenly they're interacting with the cake!
The important thing is to work with the baby in front of you rather than expecting every one-year-old to react to a cake in the same way.
Don't Forget the Detail Shots
This is one of my favourite parts!
Once we have a good mess going, I get in close with my macro lens and photograph all those tiny cake-covered details.
Little fingers covered in icing.
Tiny toes with cake squished between them.
Crumbs everywhere.
Those detail photographs are absolutely adorable and add something different to the final gallery.
They're also incredibly easy to forget when you're concentrating on getting expressions from baby, so I've made a point of including them in my regular cake smash workflow.
Finishing With a Bath Session
If the parents have chosen my Smash & Splash option, we finish the session with a bath.
While Mom cleans the majority of the cake off baby, I clean up the cake smash area and prepare the bath setup.
I always ask the parent whether baby prefers bath water on the warmer or cooler side and whether they're comfortable with me using bubble bath.
Once baby is in the tub, I don't immediately hand them a bath toy.
I like to give them a chance to explore the water first because I'm hoping they'll naturally start splashing and playing. Those spontaneous splashes make some of the cutest photographs!
If baby isn't particularly interested in splashing, then I'll bring out a bath toy to encourage some interaction.
For many babies, the bath ends up being one of their favourite parts of the entire session.
Every Cake Smash Is Different
After photographing so many cake smash sessions, one of the biggest things I've learned is that you really can't predict what a one-year-old is going to do.
Some babies destroy the cake.
Some delicately taste it.
Some cry.
Some try to crawl away.
Some are far more interested in the spoon than the cake you carefully placed in front of them.
And honestly, that's part of what makes cake smash photography so much fun.
Having a consistent workflow gives me a plan for every session, but I'm always prepared to change that plan depending on the little person sitting in front of my camera.
Because when you're photographing one-year-olds, they're really the ones running the session!
Bonus: Shot list
I always be sure to get the following if baby allows:
Sitting without cake looking at camera highlighting the outfit and set up
Close up portraits laughing and smiling
Baby on chair or bed holding a stuffy
Baby standing holding onto ladder or other taller prop
First touch of cake and the facial expressions that follow
Close up of the adorable cake covered face
Close up of cake covered feet, toes, hands and fingers
Hand holding spoon covered in cake
Shot from above showing all the cake mess
Action shots that show a variety of facial expressions
Any crying shots especially at the end
Crawling away from cake
Overall lots of wide angles showing the entire set mixed with close ups showing all the different facial expressions and then capturing the little details in between.
Have fun my friends!